AI image editing can remove distractions, extend backgrounds, change lighting, replace objects, create variations, and help turn a rough photo into a cleaner final image. The difficult part is not finding an AI button. The difficult part is getting a result that still looks believable, keeps important details correct, and works for the place where you plan to use it.
A good workflow treats AI as one editing tool, not as a replacement for basic visual judgment. This guide shows how to plan an edit, choose the right source image, write useful instructions, review common AI errors, preserve brand or product accuracy, and export the final image at the right size.
Start with a clear editing goal
Do not begin with “make this better.” Decide what problem the image has. Maybe the background is cluttered. Maybe the product is too small in the frame. Maybe a social post needs more empty space for text. Maybe a portrait needs cleaner lighting without changing the person’s face.
A specific goal helps you make smaller edits. Smaller edits are easier to review and usually look more natural.
Write the goal in one sentence
For example: “Remove the cables from the desk, keep the laptop unchanged, and extend the wall on the right for headline space.” That instruction is much easier to judge than a vague request for a professional result.
Use the best source image you have
AI cannot recover every detail from a tiny, blurry, heavily compressed image. Start with the highest-quality original available.
For a product photo, use a sharp image with clear edges and realistic color. For a portrait, use a file where the eyes, hair, and skin detail are visible. For a room, use an image with straight lines and enough context around the area you want to change.
Avoid editing screenshots when the original exists
A screenshot may already be resized and compressed. Editing the original camera file or exported design gives the model more detail to work with and gives you a cleaner final image.
Fix composition before adding effects
Composition often matters more than a dramatic AI effect. Decide where the subject should sit in the frame, where text may appear, and which distractions should disappear.
Use crop, rotate, and perspective correction first. Then use AI for the parts that would be slow to repair manually.
Leave space for the final format
A website hero image, YouTube thumbnail, Instagram post, and article featured image use different shapes. If you know the output will be 16:9, compose for that ratio before spending time on detailed edits.
Make one major change at a time
Asking the model to change the background, clothing, lighting, camera angle, facial expression, and color palette in one prompt makes errors harder to identify.
A better sequence is background cleanup, then framing, then lighting, then minor detail repair. Save a good version after each stage.
Versioning protects good work
If the fourth edit damages a logo or changes a face, you can return to the third version instead of starting again.
Describe what must stay unchanged
AI editors often focus on what to change and accidentally modify nearby details. Tell the tool what must remain the same.
For a product image, mention the exact product shape, color, logo position, button layout, and packaging text. For a portrait, state that identity, facial structure, skin tone, and clothing must remain unchanged unless one of those is the target of the edit.
Use preservation instructions
A useful prompt might say: “Replace only the background with a clean light-gray studio wall. Keep the watch, wrist, skin tone, reflections, and watch-face text unchanged.”
Use selection tools when available
If the editor lets you brush or select the area to change, use it. A selection tells the model where it has permission to modify pixels.
This is especially useful for object removal, background replacement, sky changes, clothing cleanup, or repairing a small damaged area.
Keep the selection slightly larger than the object
If you select only the exact edge of an object, the tool may leave shadows or fragments. Include a small area around it so the model can rebuild the background naturally.
Write visual prompts, not marketing prompts
“Make this premium” is subjective. Describe visible qualities instead: soft window light, neutral background, realistic shadow, clean desk, shallow depth of field, warm wood surface, or matte product lighting.
The more your instruction describes the image itself, the easier it is to evaluate.
Avoid stacking style words
Words such as cinematic, luxury, viral, epic, ultra-premium, and futuristic can pull the image in conflicting directions. Use a few concrete visual details.
Keep product claims visually accurate
When editing a real product, do not let AI create features that do not exist. A phone should not gain an extra camera. A laptop should not change its keyboard layout. Packaging should not display invented certifications.
Compare the final image with official product material from the manufacturer.
Logos and small text need special review
Generative tools often distort tiny text. If a logo or label must be exact, use the original graphic layer rather than asking AI to regenerate it.
Use AI background removal carefully
Background removal works well when the subject has a clean outline. Hair, glass, smoke, fur, and transparent objects are harder.
Zoom in around edges after removal. Look for missing hair strands, rough halos, transparent gaps, or background color left between small details.
Glass and reflective products need manual checking
A transparent bottle or glossy device depends on reflections from its environment. Replacing the background can make the reflections look physically wrong. Keep some realistic reflection and shadow information.
Match lighting when adding or replacing objects
An inserted object must match the direction, softness, and color of the existing light. If the room is lit from the left, a new object should not have a strong shadow pointing left.
Check highlights, shadows, and contact with the surface.
Contact shadows make objects feel grounded
A product that has no shadow may look as if it is floating. Ask for a soft realistic contact shadow that matches the scene rather than a dramatic artificial drop shadow.
Use generative expand for layout problems
Generative expand can extend a background beyond the original frame. It is useful when a photo is vertical but you need a wide website banner, or when a subject is centered but you need text space on one side.
Keep important subjects inside the original area where possible. Let AI create low-detail background around them.
Background extension is safer than subject invention
Extending a wall, sky, floor, or blurred environment is usually easier than inventing a new hand, product, or face.
Check faces at full size
AI can make subtle changes to eyes, teeth, ears, hairline, jewelry, or skin texture. A small preview can hide these problems.
Zoom to 100 percent and compare the edited face with the original.
Do not over-smooth skin
Natural skin has texture. Removing every line and pore can make a portrait look synthetic. Aim for balanced cleanup rather than plastic skin.
Hands still deserve close inspection
Modern image models have improved, but fingers, rings, watches, and object grip can still look wrong after large edits.
Count fingers, check joints, and see whether the hand actually touches the object correctly.
Watch reflections and mirrors
A mirror may show an object that was removed from the main scene. A glossy table may reflect an older version of the product. Windows may contain inconsistent lighting.
Review reflective surfaces after every major scene edit.
Use a reflection checklist
Look at mirrors, glass, polished metal, water, screens, and shiny floors. These areas often reveal an AI edit even when the main subject looks correct.
Use AI for cleanup before complete regeneration
If the original photo is good, preserve it. Remove distractions, improve framing, and repair small problems instead of replacing the entire scene.
This keeps more real detail and reduces the chance of invented features.
Build social graphics in layers
Do not ask an image model to create the final headline, logo, call-to-action, and photograph in one step. Generate or edit the visual first. Add text and brand elements in a design tool afterward.
Tools such as Adobe, Canva, and modern AI image editors can work together in this layered process.
Text should remain editable
Editable text is sharper, easier to correct, and more accessible than text baked into a generated image.
Keep a safe area around important text
Social platforms may crop previews differently on mobile and desktop. Keep key text and logos away from the edges.
Use platform templates when available and preview the final graphic at phone size.
Choose the correct image size
Do not upload a 6000-pixel image when the website displays it at 800 pixels. Large files waste bandwidth and can slow pages.
For many article featured images, a 1280 by 720 landscape file is a practical target. The correct size depends on the theme and layout.
Export for the real display size
If a design needs retina-quality detail, export around twice the CSS display width when practical, then let your CMS create responsive versions.
Use modern formats where supported
WebP and AVIF can reduce file size compared with older formats while keeping good visual quality. JPEG remains useful for photos, and PNG is helpful for transparency or graphics with sharp edges.
Check browser and CMS support before choosing a format.
Compress after editing
AI tools may export large files. Compress the final image before uploading to a website.
Compare the compressed image at normal viewing size. Stop compressing when detail, gradients, or text edges visibly degrade.
Do not optimize by dimensions alone
A 1280 by 720 image can still be several megabytes. File size and dimensions both matter.
Write useful ALT text
ALT text should describe what the image shows and why it matters in the article. Do not stuff keywords.
For example, “Laptop on a clean desk with an extended neutral background for website headline space” is more useful than “best AI image editing 2026 image photo graphic.”
Keep original files
Save the unedited source separately. AI editing is easier when you can return to the original instead of editing an already edited version repeatedly.
Use clear filenames such as product-name-original.jpg, product-name-edit-v1.jpg, and product-name-final.webp.
Review authenticity for news and factual content
Do not use an AI-altered image in a way that suggests a real event happened differently. If an image is illustrative or substantially generated, label it when context requires transparency.
For journalism, safety, or documentary use, preserve the original and follow the publication’s editorial policy.
Check rights before using source images
AI editing does not automatically give you rights to someone else’s photograph. Use images you created, licensed stock, public-domain material, or files whose license allows your use.
Sites such as Wikimedia Commons provide license information for many images, but you still need to follow the specific attribution and reuse terms shown on each file.
A practical product-image workflow
Start with a sharp original product photo. Correct crop and perspective. Remove dust and background distractions. Replace or extend the background only if needed. Keep product geometry and branding unchanged. Match shadows and reflections. Review small text. Export at the required dimensions. Compress the file. Add accurate ALT text.
Example: online store hero image
Suppose you have a clean photo of headphones but need a wider banner. Keep the headphones unchanged. Extend the background to the right. Add a soft shadow if needed. Export the visual. Then add the headline and button in your website builder so the text stays responsive and accessible.
A practical portrait workflow
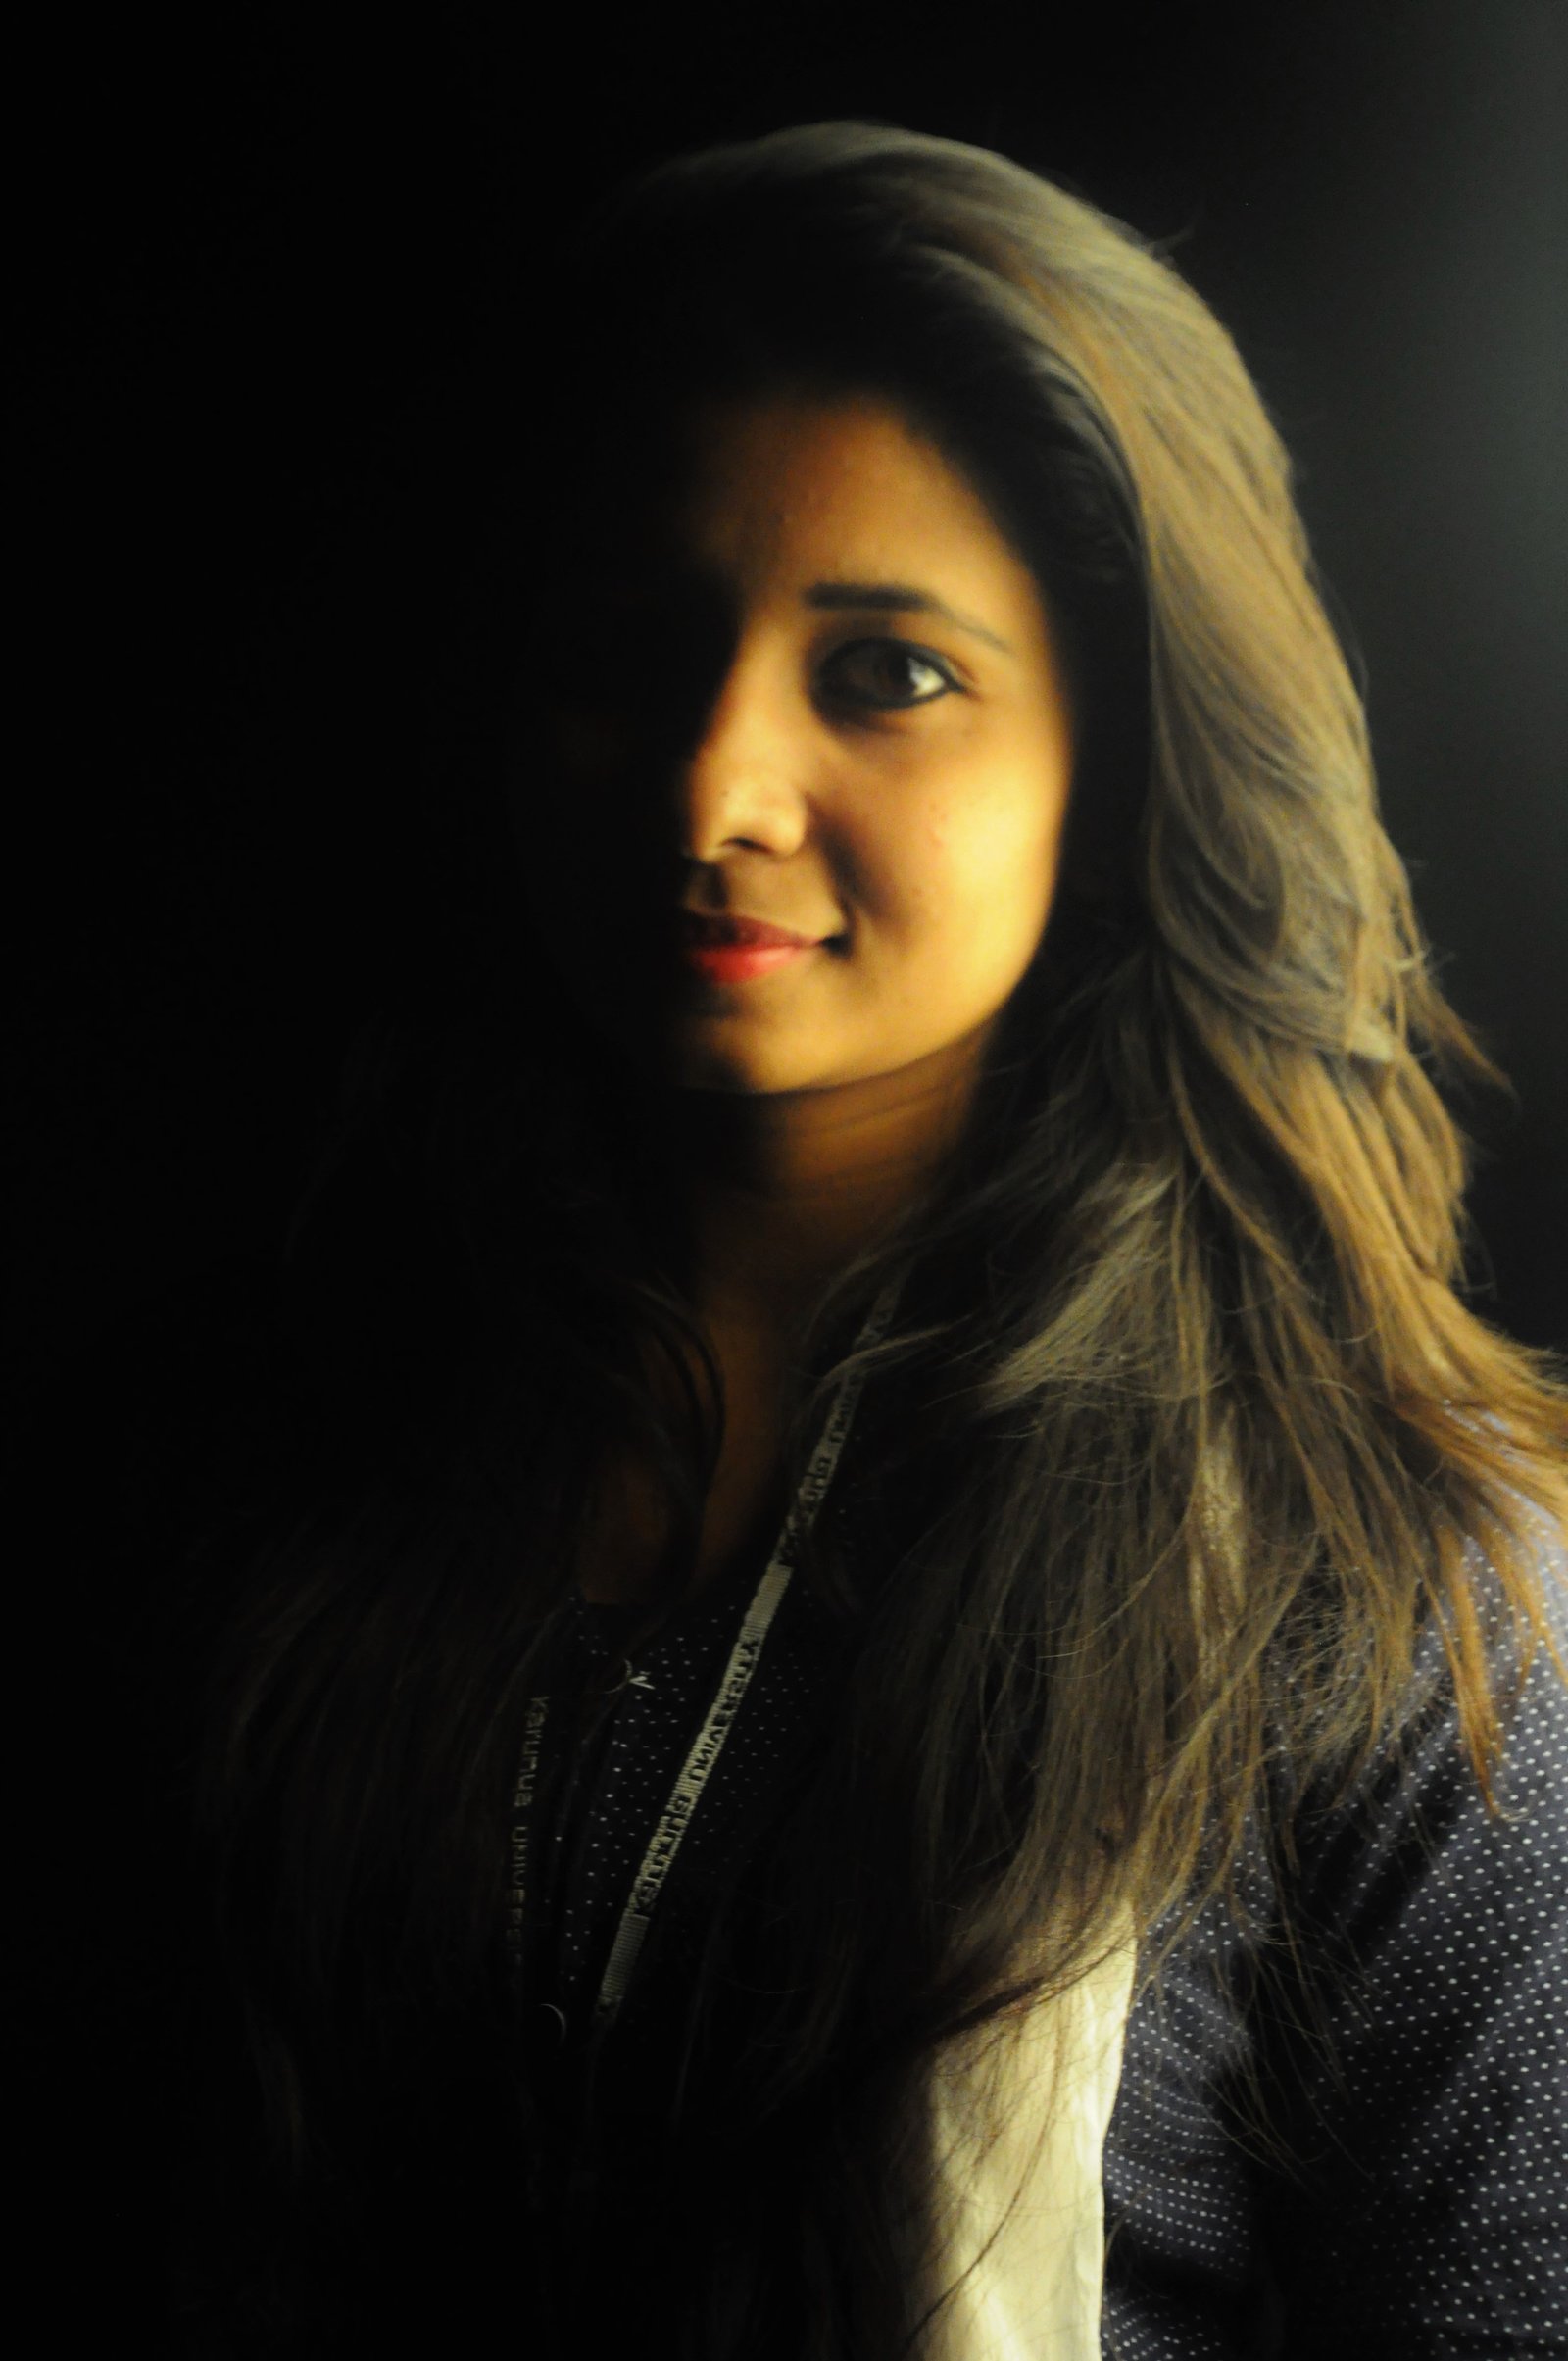
Start with exposure and crop. Remove temporary distractions such as a background object. Keep identity unchanged. Use subtle lighting correction. Review eyes, teeth, hair, hands, and jewelry at full size. Avoid aggressive skin smoothing.
A practical social-post workflow
Choose the platform ratio. Create or edit the background visual. Leave safe space. Add text in a design tool. Check contrast. Preview on a phone. Export at a reasonable size and compression level.
Common AI image editing mistakes
Changing too many things in one prompt, trusting tiny previews, regenerating logos, ignoring reflections, uploading oversized files, using unclear licenses, and applying too much skin smoothing are common problems.
Most of them are prevented by smaller edits and a final quality check.
Final quality-control checklist
Compare the final with the original. Check faces and hands. Check product shape and text. Review shadows and reflections. Zoom into edges. Make sure the crop fits the target format. Verify image rights. Export at the correct dimensions. Compress for the web. Add a clear title and ALT text. Keep the original source file.
Conclusion
AI image editing is most useful when it removes slow manual work while you remain responsible for visual accuracy. Start with a clear goal and a strong source image. Make one major change at a time. Tell the editor what must stay unchanged. Review the details that AI commonly gets wrong.
For websites and social media, finish the process with good layout, editable text, correct dimensions, compression, and useful ALT text. A successful AI edit should not call attention to the tool. It should simply solve the visual problem without creating new ones.

Leave a Reply